发表于 2020-10-22 | 更新于 2024-12-26
| 阅读量:
准备用一个月的时间,系统学习下OpenCV
代码跟着 Learning OpenCV 3: Coumputer Vision in C++ with the OpenCV Library (《学习OpenCV 3》) 这本书来敲
环境:
系统:Ubuntu20LTS
示例2-2 简单加载并显示图像
1 2 3 4 5 6 7 8 9 10 11 12 13 14 15 #include <opencv2/opencv.hpp> #include <opencv2/highgui.hpp> using namespace cv;int main () Mat img = imread ("" ); if (img.empty ()) return -1 ; namedWindow ("Example1" , WINDOW_AUTOSIZE); imshow ("Example1" ,img); waitKey (0 ); destroyWindow ("Example1" ); return 0 ; }
示例2-5 平滑处理图像
1 2 3 4 5 6 7 8 9 10 11 12 13 14 15 16 17 18 #include <opencv2/opencv.hpp> using namespace cv;int main () Mat image = imread ("/home/lushuangning/Pictures/miku1314.jpg" ); namedWindow ("example2-5-in" , WINDOW_AUTOSIZE); namedWindow ("example2-5-out" , WINDOW_AUTOSIZE); imshow ("example2-5-in" , image); Mat out; GaussianBlur (image, out, Size (5 ,5 ), 3 ,3 ); GaussianBlur (out, out,Size (5 ,5 ), 3 , 3 ); imshow ("example2-5-out" , out); waitKey (0 ); return 0 ; }
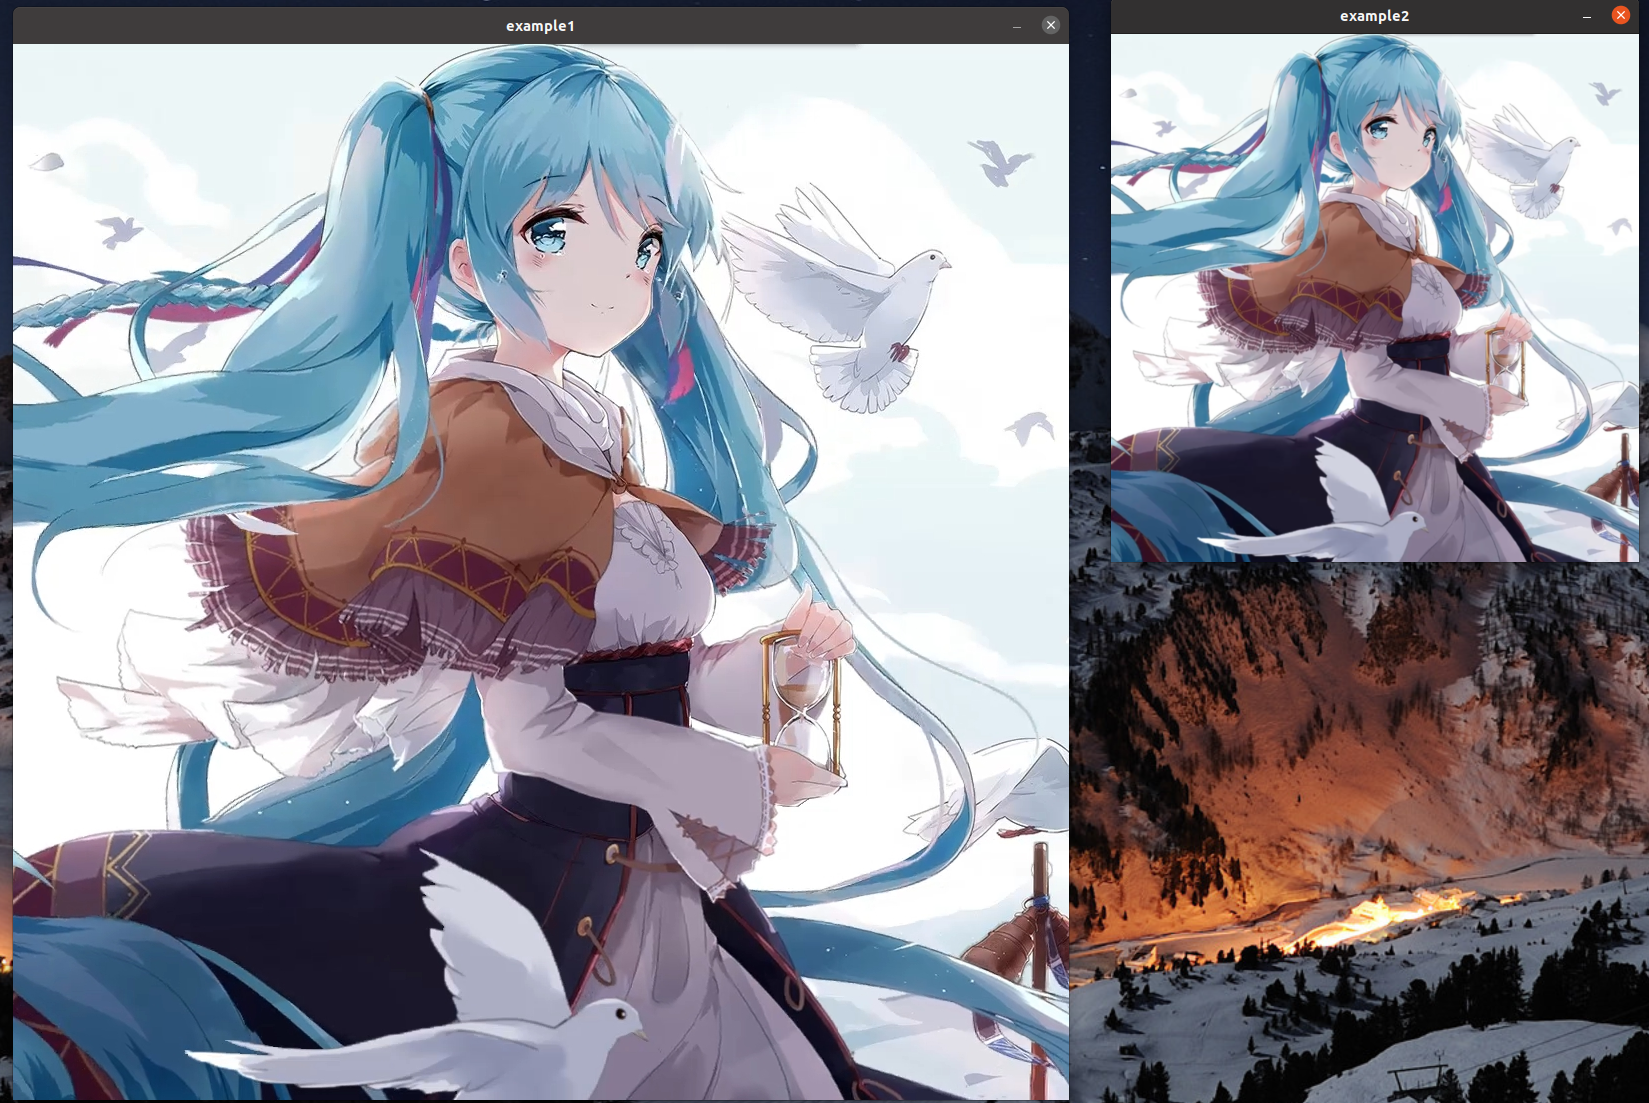
示例2-6 基2降采样
1 2 3 4 5 6 7 8 9 10 11 12 13 14 15 16 #include <opencv2/opencv.hpp> #include <opencv2/highgui.hpp> using namespace cv;int main () Mat img1,img2; namedWindow ("example1" , WINDOW_AUTOSIZE); namedWindow ("example2" , WINDOW_AUTOSIZE); img1 = imread ("/home/lushuangning/Pictures/miku1314.jpg" ); imshow ("example1" , img1); pyrDown (img1, img2); imshow ("example2" , img2); waitKey (0 ); return 0 ; }
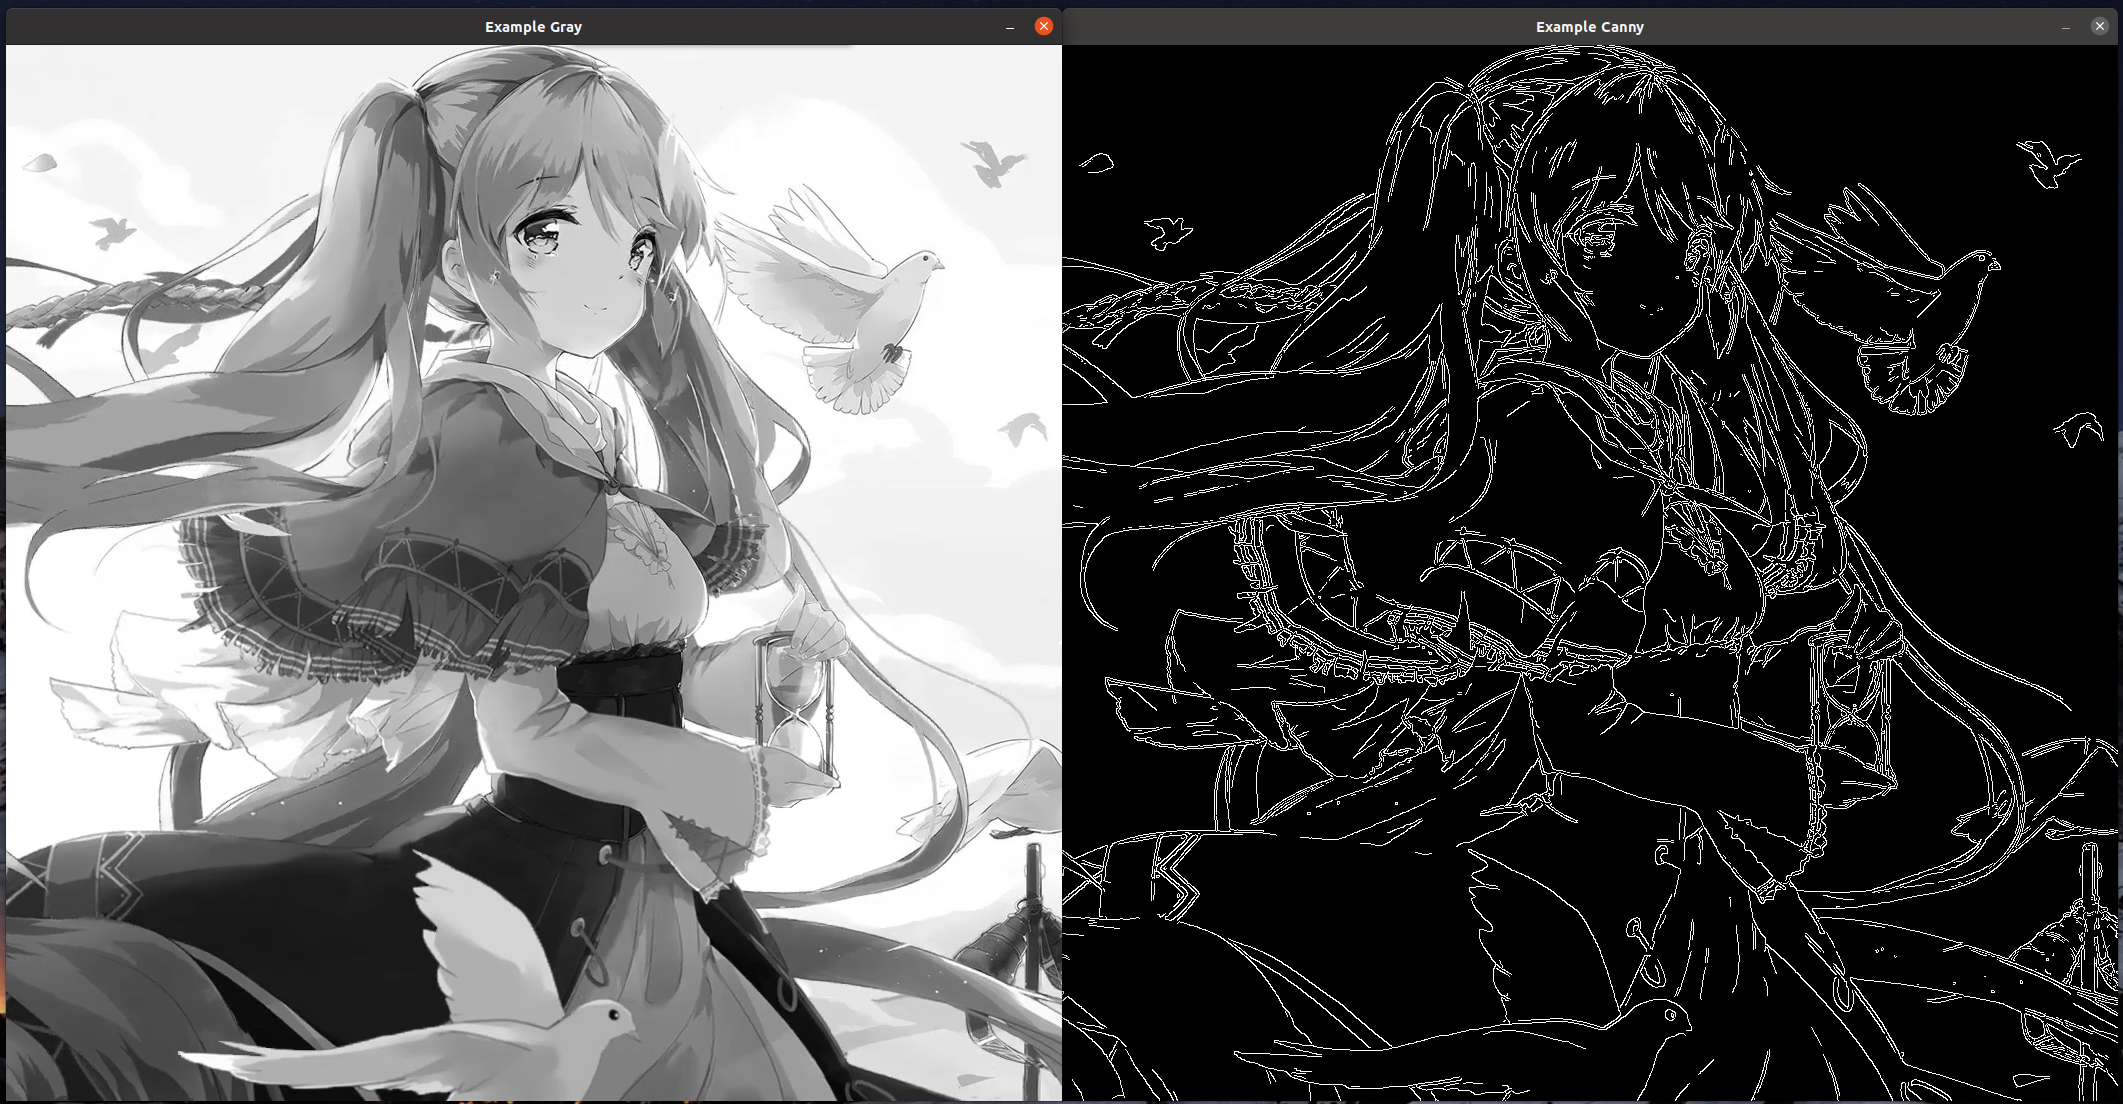
示例2-7 Canny边缘检测
1 2 3 4 5 6 7 8 9 10 11 12 13 14 15 16 17 18 19 20 #include <opencv4/opencv2/opencv.hpp> #include <opencv4/opencv2/highgui.hpp> using namespace cv;int main () Mat img_rgb, img_gry, img_cny; namedWindow ("Example Gray" ,WINDOW_AUTOSIZE); namedWindow ("Example Canny" ,WINDOW_AUTOSIZE); img_rgb = imread ("/home/lushuangning/Pictures/miku1314.jpg" ); cvtColor (img_rgb, img_gry, COLOR_BGR2GRAY); Canny (img_gry, img_cny, 100 , 150 , 3 , true ); imshow ("Example Gray" , img_gry); imshow ("Example Canny" , img_cny); waitKey (0 ); return 0 ; }
Canny边缘检测论文如下:A Computational Approach to Edge Detection
挖个坑,待填,尽快读完,用代码复现一遍
示例2-8
1 2 3 4 5 6 7 8 9 10 11 12 13 14 15 16 17 18 19 20 21 22 23 24 25 26 27 28 29 30 31 #include <opencv4/opencv2/opencv.hpp> #include <opencv4/opencv2/highgui.hpp> using namespace cv;int main () Mat img_rgb, img_gry, img_cny, img_pyr, img_pyr2; namedWindow ("Example rgb" ,WINDOW_AUTOSIZE); namedWindow ("Example gry" ,WINDOW_AUTOSIZE); namedWindow ("Example Canny" ,WINDOW_AUTOSIZE); namedWindow ("Example pyr" ,WINDOW_AUTOSIZE); namedWindow ("Example pyr2" ,WINDOW_AUTOSIZE); img_rgb = imread ("/home/lushuangning/Pictures/miku1314.jpg" ); cvtColor (img_rgb, img_gry, COLOR_BGR2GRAY); pyrDown (img_gry, img_pyr); pyrDown (img_pyr, img_pyr2); Canny (img_pyr2, img_cny, 80 , 120 , 3 , true ); imshow ("Example rgb" , img_rgb); imshow ("Example gry" , img_gry); imshow ("Example pyr" , img_pyr); imshow ("Example pyr2" , img_pyr2); imshow ("Example Canny" , img_cny); waitKey (0 ); return 0 ; }
示例2-9 读取图片中某一位置的像素值
1 2 3 4 5 6 7 8 9 10 11 12 13 14 15 16 17 18 19 20 21 22 23 24 25 #include <iostream> #include <opencv2/opencv.hpp> #include <opencv2/highgui.hpp> using namespace cv;using namespace std;int main () Mat img,img_gry; int x = 16 , y = 32 ; img = imread ("/home/lushuangning/Pictures/miku1314.jpg" ); cvtColor (img, img_gry, COLOR_BGR2GRAY); Vec3b intensity = img.at <Vec3b>(y, x); uchar blue = intensity[0 ]; uchar green = intensity[1 ]; uchar red = intensity[2 ]; cout << "At (" << x << "," << y << "): (blue, green, red) = (" << (unsigned int )blue << ", " << (unsigned int )green << ", " << (unsigned int )red << ")" << endl; cout << "Gray pixel there is: " << (unsigned int )img_gry.at <uchar>(y, x) << endl; return 0 ; }
1
2
At (16,32): (blue, green, red) = (246, 245, 235) Gray pixel there is: 242
(未完待续)
版权声明: 此文章版权归路双宁所有,转载请注明来源作者


